15 KiB
Installing Moonfire NVR
Downloading, installing, and configuring Moonfire NVR
This document describes how to download, install, and configure Moonfire NVR via the prebuilt Linux binaries available for x86-64, arm64, and arm. If you instead want to build Moonfire NVR yourself, see the Build instructions.
Go to the instructions for your exact Moonfire versionMake sure you are viewing instructions that match the release you intend to install. When viewing this page on Github, look for a pull-down in the upper left, and pick the latest tagged version: 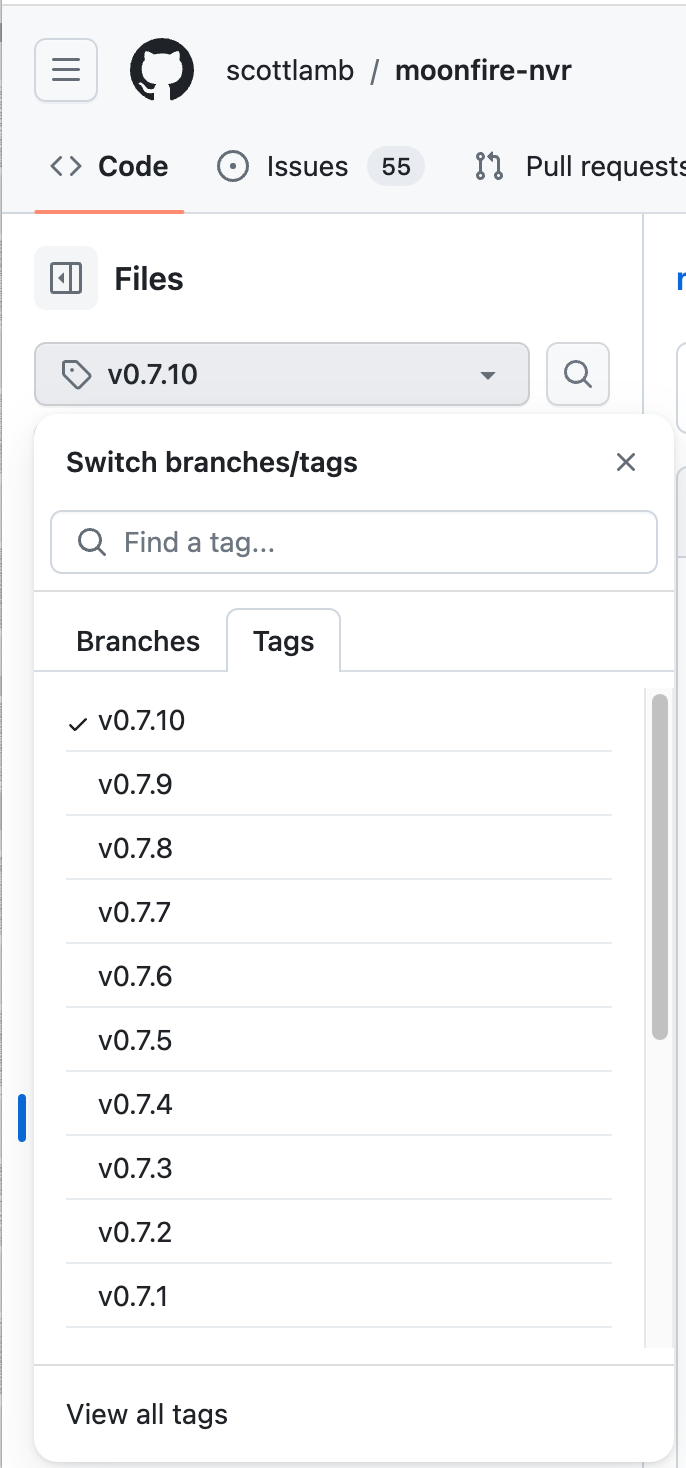
|
Download the binary for your platform from the matching GitHub release.
Install it as /usr/local/bin/moonfire-nvr and ensure it is executable, e.g.
for version v0.7.14:
$ VERSION=v0.7.14
$ ARCH=$(uname -m)
$ curl -OL "https://github.com/scottlamb/moonfire-nvr/releases/download/$VERSION/moonfire-nvr-$VERSION-$ARCH"
$ sudo install -m 755 "moonfire-nvr-$VERSION-$ARCH" /usr/local/bin/moonfire-nvr
DockerThe procedure above, in which Moonfire runs directly on the host, is strongly recommended.
…but, you may still prefer Docker for familiarity or other reasons. If so, you
can install the Command reference:
| ||||||||||||||||||
Next, you'll need to set up your filesystem and the Moonfire NVR user.
Moonfire NVR keeps two kinds of state:
- a SQLite database, typically <1 GiB. It should be stored on flash if
available. In most cases your root filesystem is on flash, so the
default location of
/var/lib/moonfire-nvr/dbwill be fine. - the "sample file directories", which hold the actual samples/frames of H.264 video. These should be quite large and are typically stored on hard drives. More below.
(See schema.md for more information.)
On most Linux systems, you can create the user as follows:
$ sudo useradd --user-group --create-home --home /var/lib/moonfire-nvr moonfire-nvr
Use your favorite editor to create /etc/moonfire-nvr.toml,
starting from the configurations below:
$ sudo nano /etc/moonfire-nvr.toml
(see below for contents)
/etc/moonfire-nvr.toml (see ref/config.md for more explanation):
[[binds]]
ipv4 = "0.0.0.0:8080"
allowUnauthenticatedPermissions = { viewVideo = true }

[[binds]]
unix = "/var/lib/moonfire-nvr/sock"
ownUidIsPrivileged = true
Then initialize the database:
$ sudo -u moonfire-nvr moonfire-nvr init
This will create a directory /var/lib/moonfire-nvr/db with a SQLite3 database
within it.
Dedicated hard drive setup
If a dedicated hard drive is available, set it up now.
If you haven't yet created the filesystem, consider using
mkfs.ext4 -T largefile -m 1, as described in more detail on the
wiki. If you're
using a USB SATA bridge, this is also a good time to ensure you're not
using UAS, as described there. UAS has been linked to filesystem corruption.
Set up the mount point and sample file directory:
$ sudo blkid
(note the UUID of your new device)
$ sudo nano /etc/fstab
(see below for line to add)
$ sudo mkdir -p /media/nvr
$ sudo mount /media/nvr
$ sudo install -d -o moonfire-nvr -g moonfire-nvr -m 700 /media/nvr/sample
In /etc/fstab, add a line similar to this:
UUID=23d550bc-0e38-4825-acac-1cac8a7e091f /media/nvr ext4 nofail,noatime,lazytime,data=writeback,journal_async_commit 0 2
If you use the nofail attribute in /etc/fstab as described above, your
system will boot successfully even when the hard drive is unavailable (such as
when your external USB storage is unmounted). This can be helpful when
recovering from problems.
Completing configuration through the UI
Once your system is set up, it's time to initialize an empty database
and add the cameras and sample directories. You can do this
by using the moonfire-nvr binary's text-based configuration tool.
$ sudo -u moonfire-nvr moonfire-nvr config 2>debug-log
Did it return without doing anything?If |
In the user interface,
-
add your sample file dir(s) under "Directories and retention". (Many streams can share a directory. It's recommended to have just one directory per hard drive.)
If you used a dedicated hard drive, use the directory you precreated (eg
/media/nvr/sample). Otherwise, try/var/lib/moonfire-nvr/sample. Moonfire NVR will create the directory as long as it has the required permissions on the parent directory. -
add cameras under "Cameras and streams".
-
See the wiki for notes about specific camera models. The Configuring cameras page mentions a couple tools that can autodetect RTSP URLs.
-
There's a "Test" button to verify your settings directly from the add/edit camera dialog.
-
Be sure to assign each stream you want to capture to a sample file directory and check the "record" box.
-
flush_if_secshould typically be 120 seconds. This causes the database to be flushed when the first instant of one of this stream's completed recordings is 2 minutes old. A "recording" is a segment of a video stream that is 60–120 seconds when first establishing the stream, about 60 seconds midstream, and shorter when an error or server shutdown terminates the stream. Thus, a value just below 60 will cause the database to be flushed once per minute per stream in the steady state. A value around 180 will cause the database to be once every 3 minutes per stream, or less frequently if other streams cause flushes first. Lower values cause less video to be lost on power loss. Higher values reduce wear on the SSD holding the SQLite database, particularly when you have many cameras and when you record both the "main" and "sub" streams of each camera.
-
-
Assign disk space to your cameras back in "Directories and retention". Leave a little slack between the total limit and the filesystem capacity, even if you store nothing else on the disk. 1 GiB of slack per camera should be plenty. This is needed for a few reasons:
- Up to
max(120, flush_if_sec)seconds of video can be written before being counted toward the usage because the recording doesn't count until it's fully written, and old recordings can't be deleted until the next database flush. So a 8 Mbps video stream withflush_if_sec=300will take up to (8 Mbps * 300 sec / 8 bits/byte) = 300 MB ~= 286 MiB of extra disk space. - If a file is open when it is deleted (such as if a HTTP client is downloading it), it stays around until the file is closed. Moonfire NVR currently doesn't account for this.
- Smaller factors: deletion isn't instantaneous, and directories themselves take up some disk space.
- Up to
-
Add a user for yourself (and optionally others) under "Users". You'll need this to access the web UI once you enable authentication.
Starting it up
With this config, Moonfire NVR's web interface is insecure: it doesn't use
https and doesn't require you to authenticate to it. You might be comfortable
starting it in this configuration to try it out, particularly if the machine
it's running on is behind a home router's firewall. You might not; in that case
read through secure the system first.
Assuming you want to proceed, you can launch Moonfire NVR through systemd.
Create /etc/systemd/system/moonfire-nvr.service:
[Unit]
Description=Moonfire NVR
After=network-online.target

# If you use an external hard drive, uncomment this with a reference to the
# mount point as written in `/etc/fstab`.
# RequiresMountsFor=/media/nvr

[Service]
ExecStart=/usr/local/bin/moonfire-nvr run
Environment=TZ=:/etc/localtime
Environment=MOONFIRE_FORMAT=systemd
Environment=MOONFIRE_LOG=info
Environment=RUST_BACKTRACE=1
Type=notify
# large installations take a while to scan the sample file dirs
TimeoutStartSec=300
User=moonfire-nvr
Restart=on-failure
CPUAccounting=true
MemoryAccounting=true
BlockIOAccounting=true

[Install]
WantedBy=multi-user.target
Then start it up as follows:
$ sudo systemctl daemon-reload              # read in the new config file
$ sudo systemctl enable --now moonfire-nvr  # start the service now and on boot
Some handy commands:
$ sudo systemctl daemon-reload                                  # reload configuration files
$ sudo systemctl start moonfire-nvr                             # start the service now without enabling on boot
$ sudo systemctl stop moonfire-nvr                              # stop the service now (but don't wait for it finish stopping)
$ sudo systemctl status moonfire-nvr                            # show if the service is running and the last few log lines
$ sudo systemctl enable moonfire-nvr                            # start the service on boot
$ sudo systemctl disable moonfire-nvr                           # don't start the service on boot
$ sudo journalctl --unit=moonfire-nvr --since='-5 min' --follow # look at recent logs and await more
See the systemd
documentation for more information. The manual
pages for systemd.service
and systemctl may be of particular interest.
The HTTP interface is accessible on port 8080; if your web browser is running on the same machine, you can access it at http://localhost:8080/.
If the system isn't working, see the Troubleshooting guide.
See also the system setup guide on the wiki, which has additional advice on configuring a Linux system which runs Moonfire NVR.
Once the web interface seems to be working, read through securing Moonfire NVR.